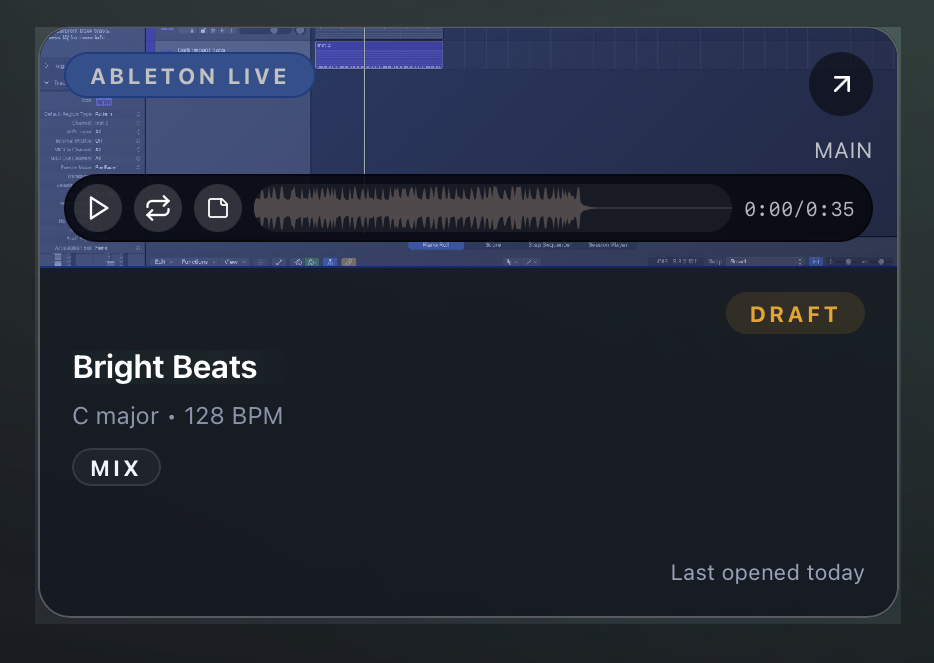
Add Your First Session
Your first session can be added manually from the empty library screen.
Before You Start
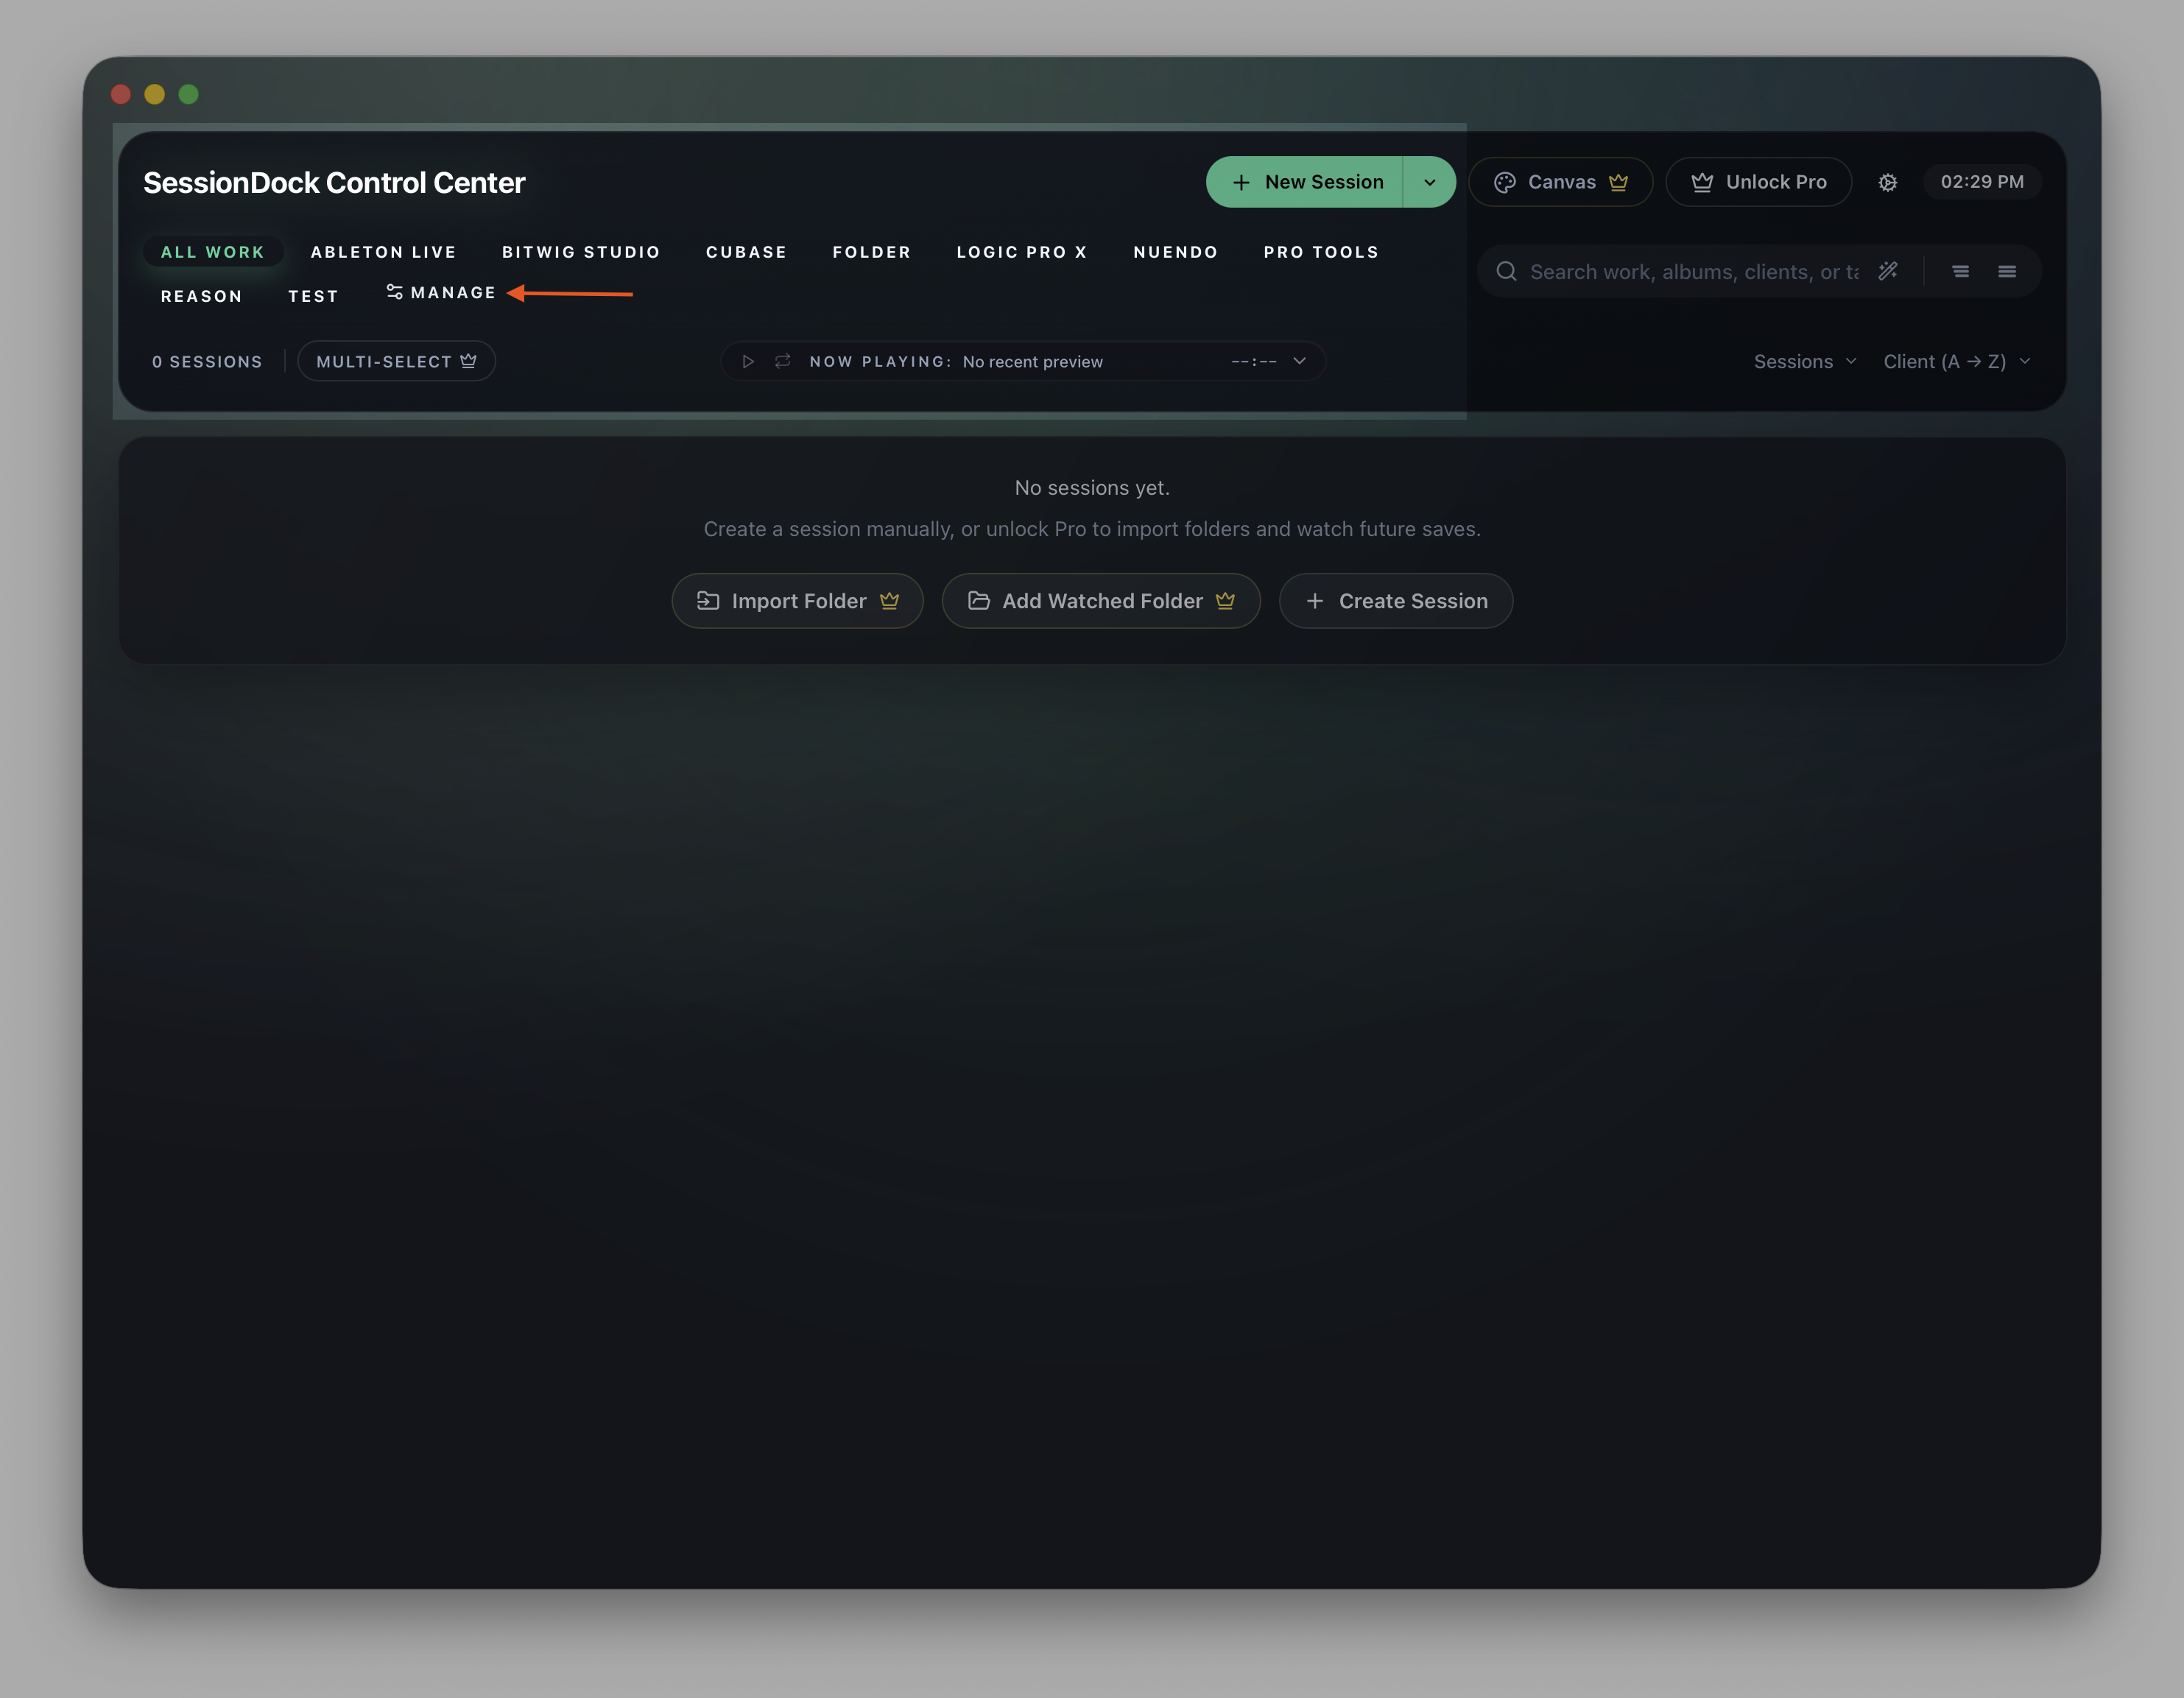
Make sure your DAW is listed in SessionDock.
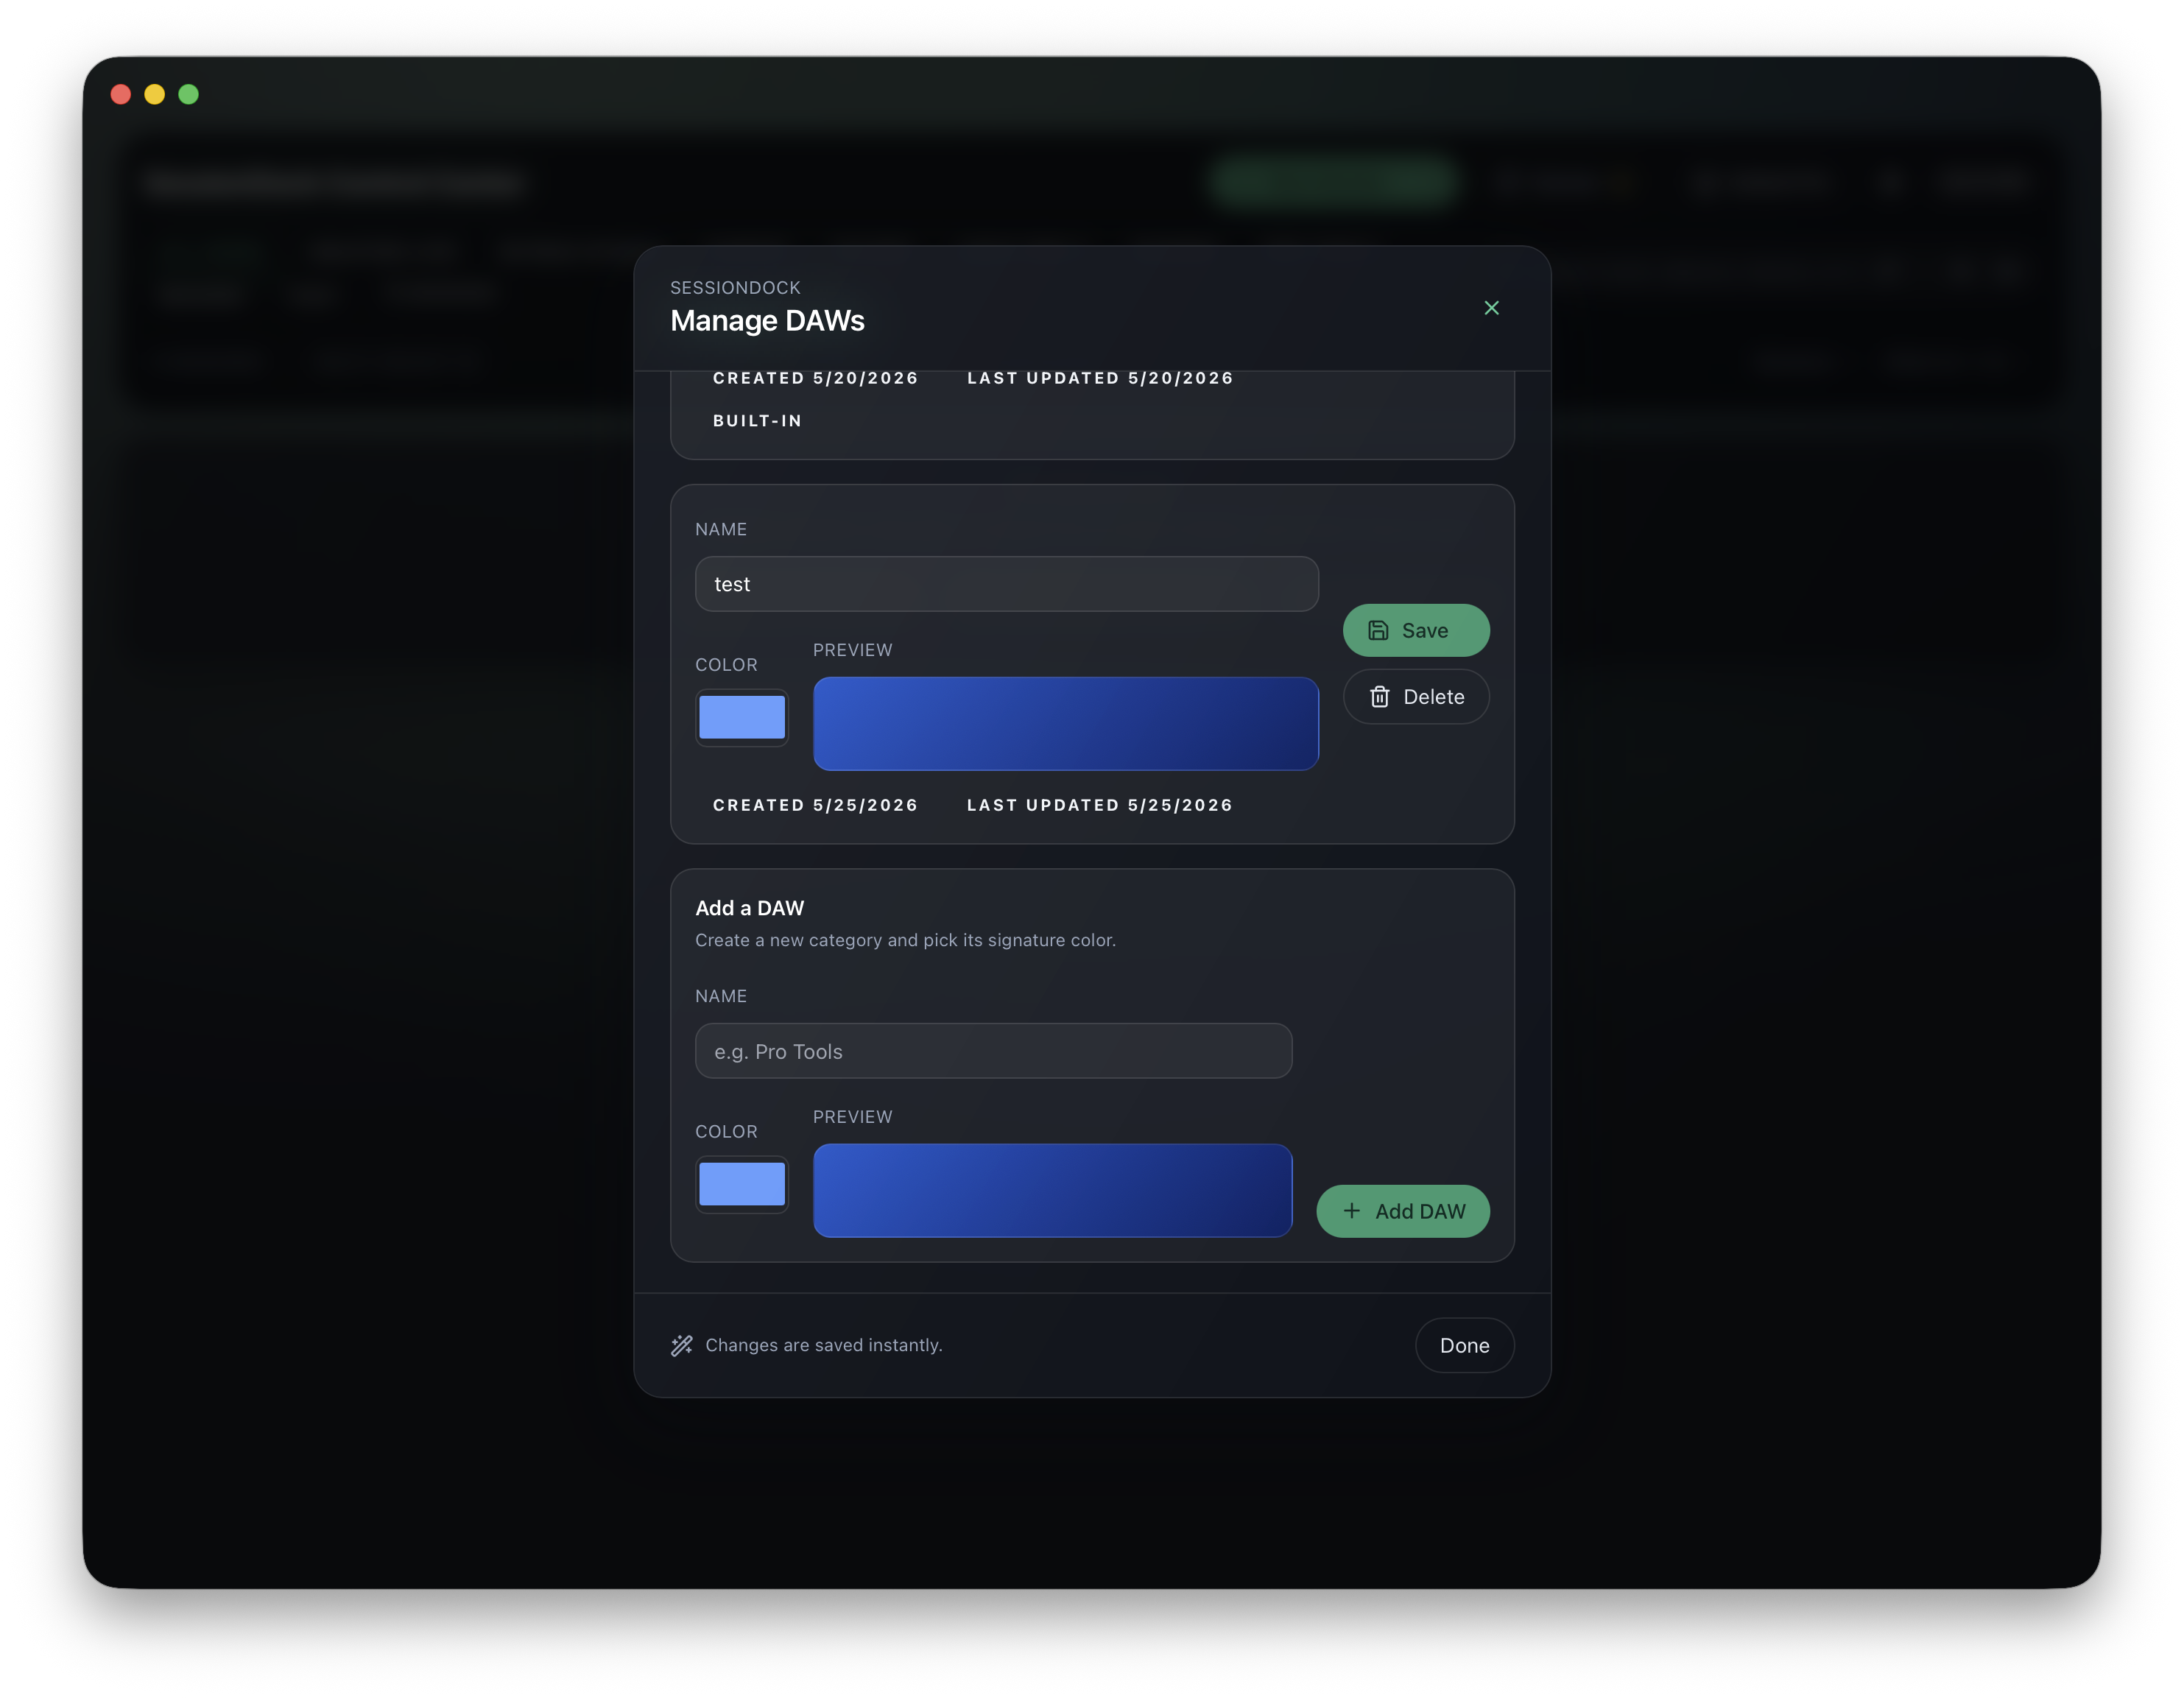
SessionDock includes common DAWs by default, but if your DAW or project type is missing, add it before creating your first session.
- Open the DAW/type manager.
- Add your DAW name.
- Save the DAW/type.
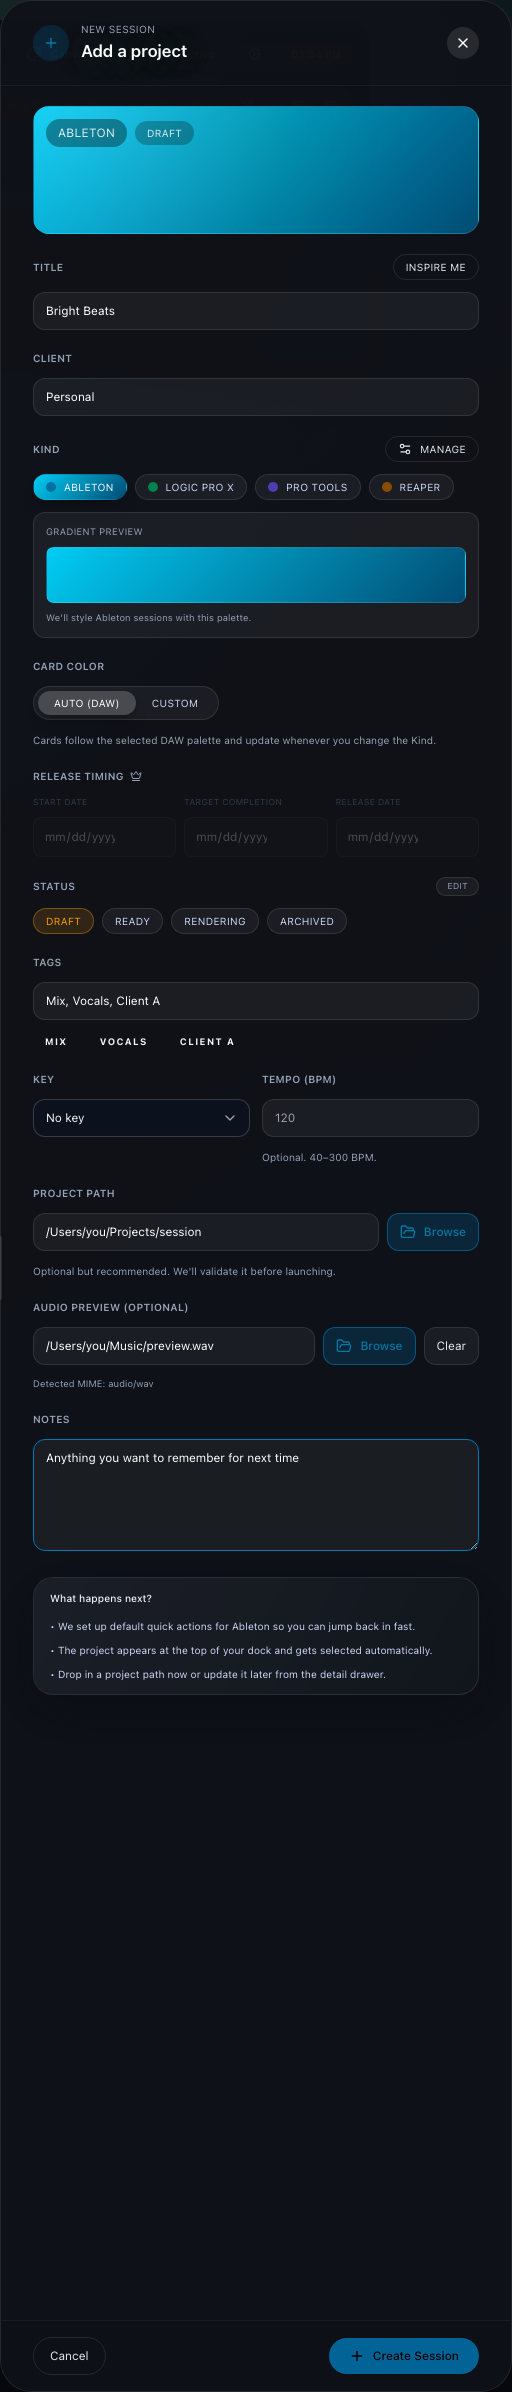
Add Your First Session
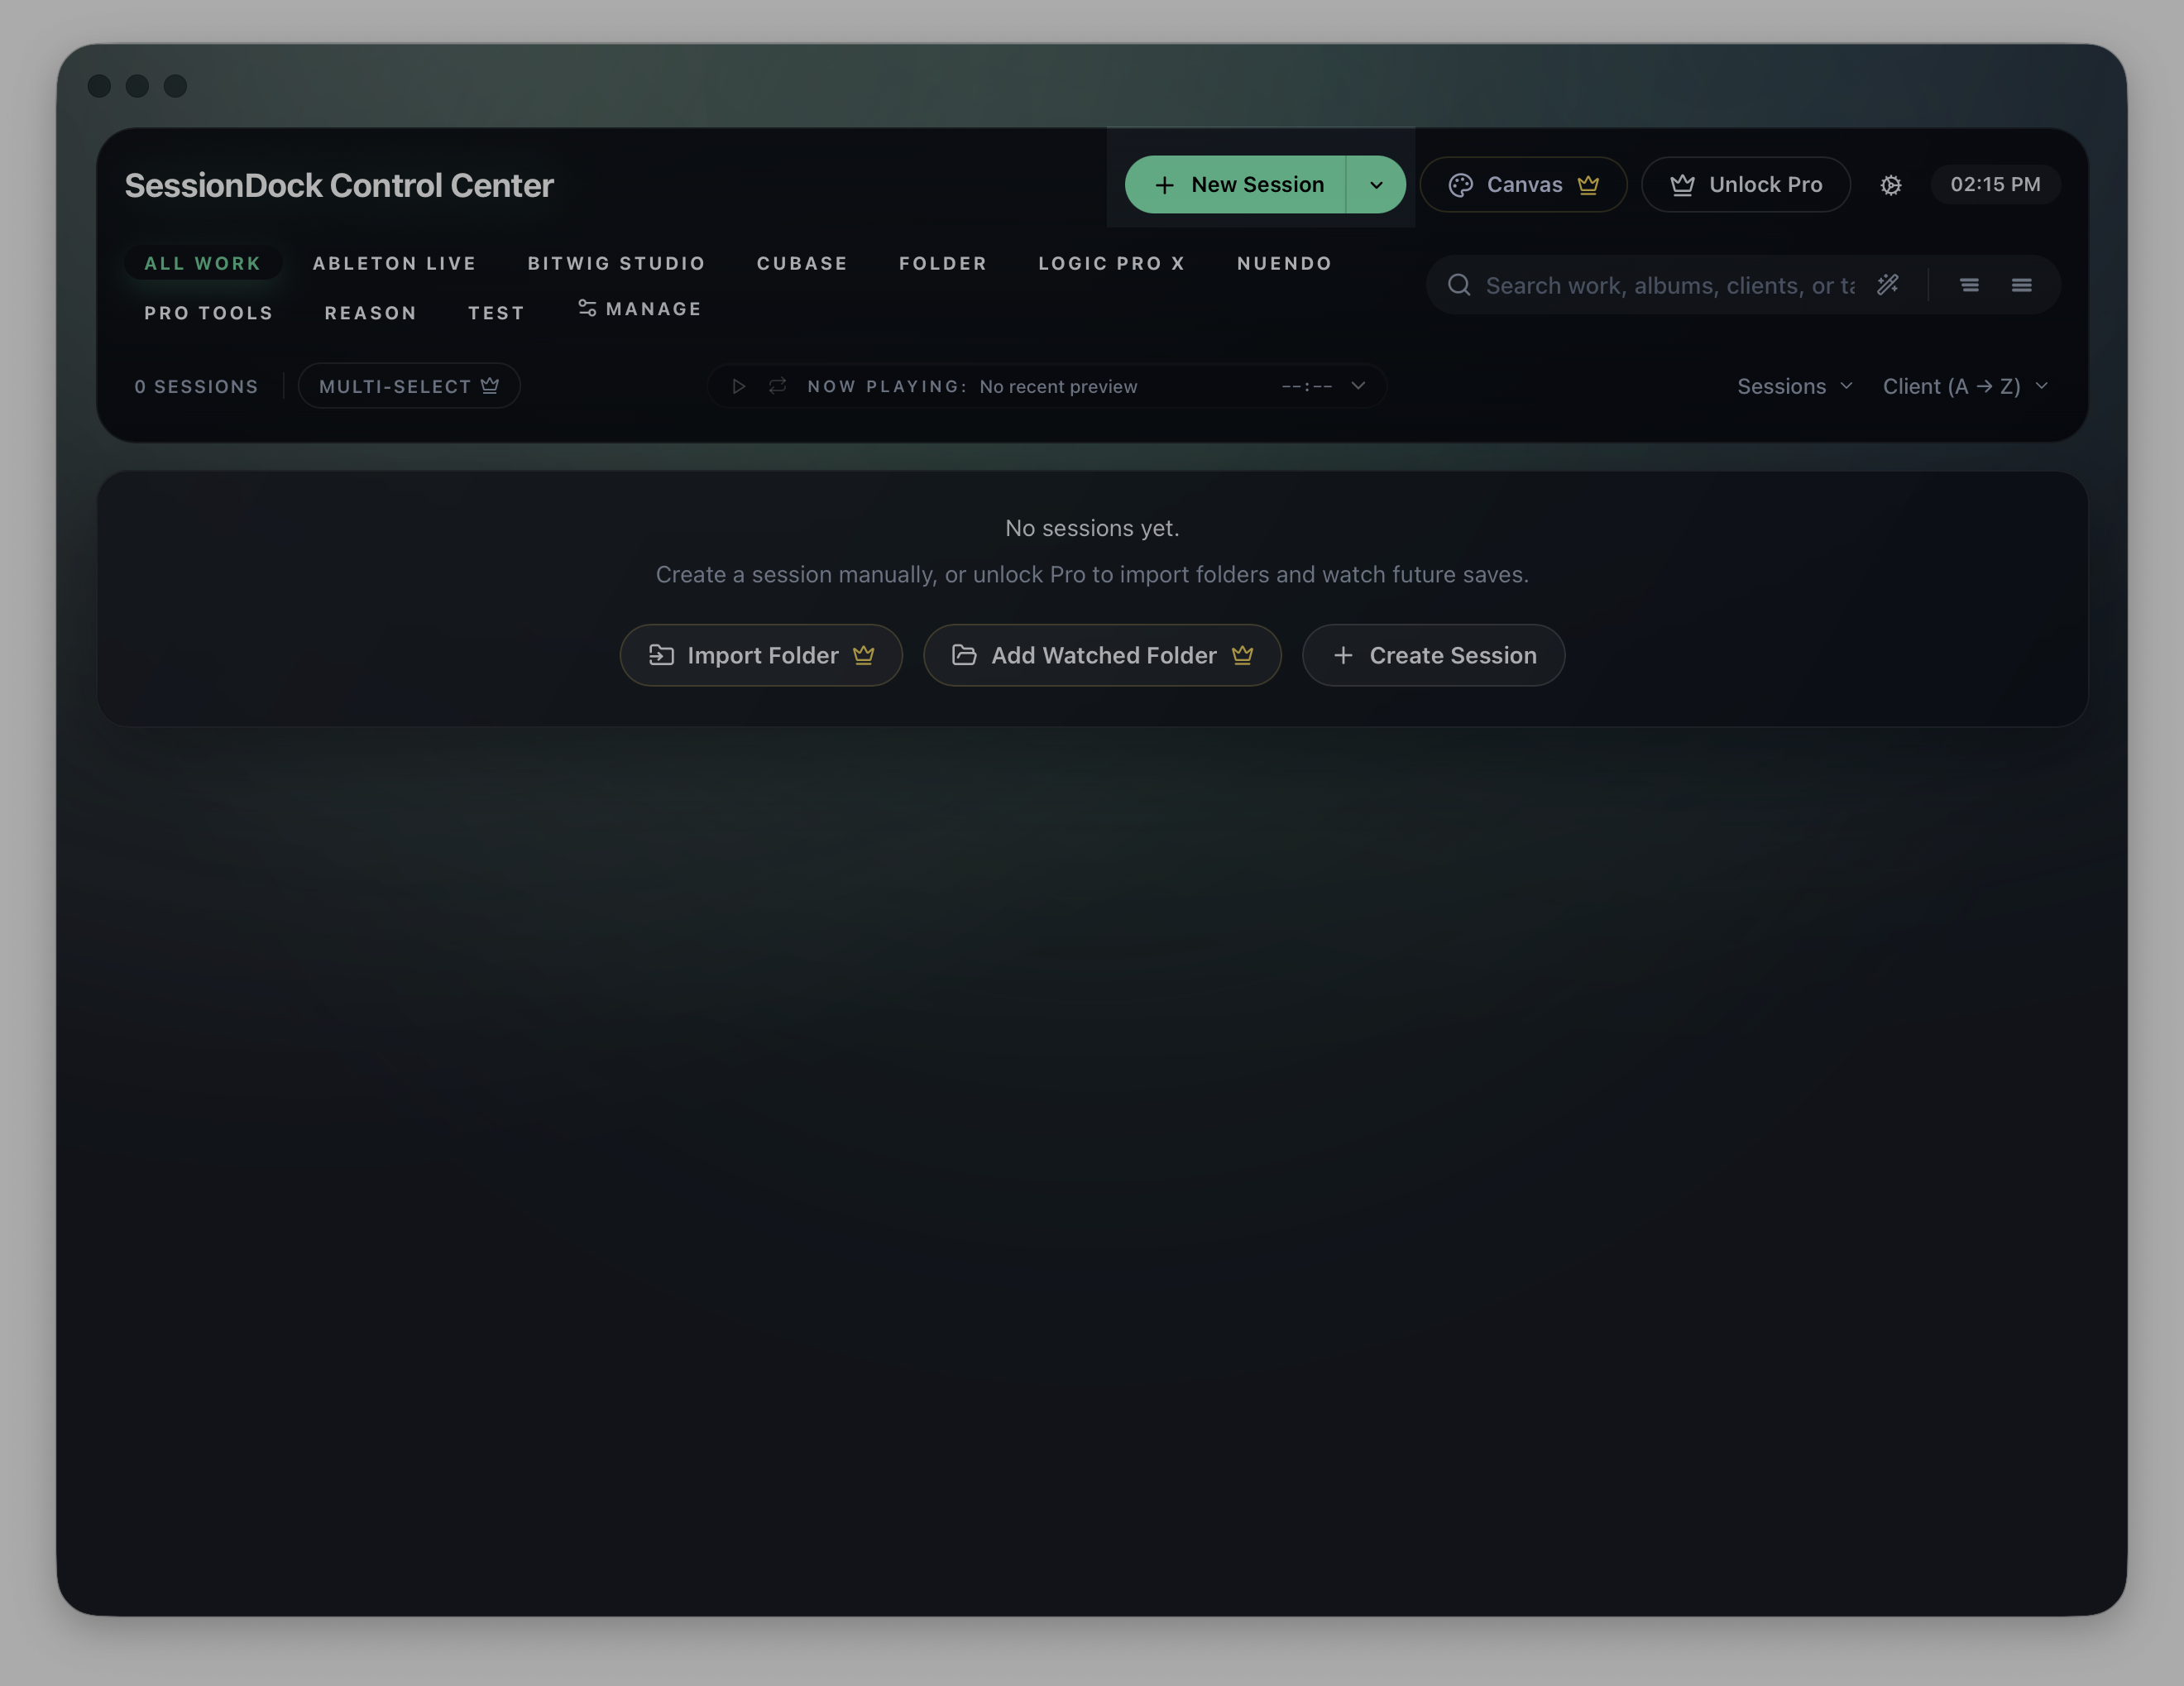
- Click New Session.
- Give your session a title, or generate one with the inspire me button.
- Add any tags you want to use for finding the session later.
- Select the project folder for the session.
- If SessionDock detects a supported DAW session file, confirm the project file it should open.
- Attach a short mixdown, stem, or preview audio file.
- Add notes, lyric ideas, mix notes, or anything you want to remember.
- Click Create Session.
Check Your Session
After the session is created:
- Click play to preview the attached audio.
- Scrub through the preview to check the file.
- Open the session to jump back into your DAW project.